
Instructions for Adding a Pattern to the Bottom of a Swimming Pool
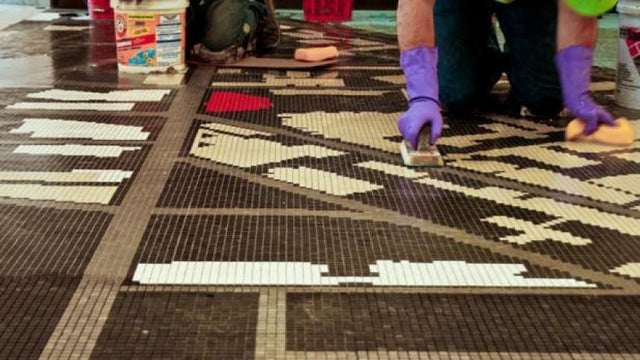
Guide to Installing Mosaic Tiles
Before you begin tiling, it is essential to agree with the customer exactly where the design will be placed and what it will look like in the pool. All these tile designs come with a paper backing, while pool tiles may be mesh- or paper-backed. Both situations will be covered in this section. Since we are working on a swimming pool, the substrate must be prepared with a cement-compatible waterproofing product (contact a company specializing in chemical products for commercial construction). This product must be applied during the skim-coating process before any other steps.
Patterns and blends with paper backing
Step 1: Draw the starting lines

Once you have established the placement of the patterns using several sheets of the same pattern and tile blend, and using the pool edge as a reference point, draw perpendicular lines with a colored pencil. If the pool has an irregular shape, the reference lines should be based on the pattern axes.
Step 2: Dry layout

Begin dry-laying (that is, without mortar) the various sheets of the design as shown in the plan. The paper backing is numbered and has arrows indicating the best direction for completing the job. Continue dry-laying the blended tiles surrounding the modular designs or patterns.
Step 3: Cut the sheets to fit the pattern

To make the patterns fit perfectly on the pool floor, place the sheets of blended tiles around the patterns over the pattern itself so you can see where excess tiles need to be removed. Cut the paper on the sheets with a utility knife, then dry-lay the blended tiles so they match the shape of the design. Now simply renumber each assembled row of tiles so you can easily recreate the pattern during installation.
Step 4: Install the tiles

Once you have installed the background tiles according to the lines marked on the grid, you can install the pattern using the new numbers.
Other steps

Once finished, you can begin removing the paper backing, adjusting the tiles, grouting, and cleaning.
Finished
