
How to Install a Bathroom Floor Drain
Preparation

Once the surface has been properly prepared, begin laying the tile base around the drain cover. Take a mosaic sheet, place it in the middle of the shower tray, and set the drain cover on top as a reference point. Secure the tape to the paper (if the tiles are pre-assembled on mesh), then, starting from the center of the drain, use a compass to draw a circle with a diameter exactly 5 mm larger (the width of one tile). This will show you exactly where to cut the mosaic.
Tiling

Cut along the line on the tile using a diamond cross-cutting blade. Cut carefully and repeat the process frequently to prevent the tiles from overheating and breaking. Prepare the cement and begin laying the tiles by placing the sheets in the center of the shower tray.
Continue positioning all the sheets around the cut sheet until you reach its edge.
Finishing

Once you have finished installing the tiles, the area around the drain cover will still need to be covered. Prepare individual tiles from the sheets and use tile nippers to shape them, then finish the job with a diamond cutting blade to create trapezoids that fit perfectly together in a circle. It is very important to leave a small gap of about 4 mm around the drain cover, which will be filled with flexible sealant after grouting. This is essential to allow for the thermal expansion the materials will undergo during use.
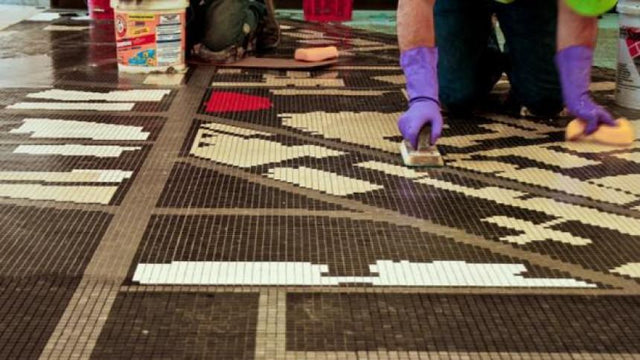
You can now proceed with grouting, cleaning, and applying the sealant.