
Guide to Tiling Stair Steps
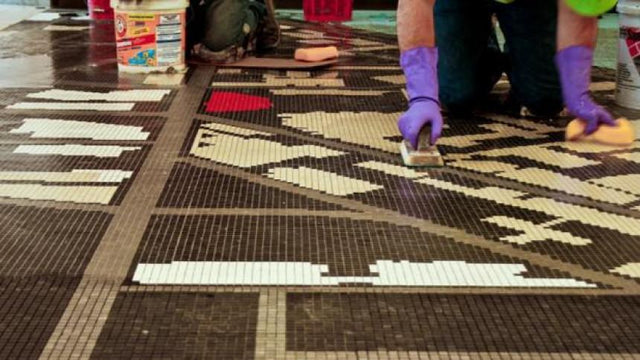
Guide to Installing Mosaic Tiles
Step 1: Draw the first straight line

Tiling always begins at the highest step. Before applying cement, it is best to create a reference point. Use a pencil to draw a horizontal line on the overhang, parallel to the surface of the first step. Remember to draw lightly so the pencil line disappears after grouting, especially when using light-colored grout.
Step 2: Install the tiles

After applying cement, begin laying the mosaic sheets horizontally, starting at the overhang where the pencil line begins. Continue using tile strips and individual tiles as needed for the design.
Step 3: Adjust the spacing

When you reach the stair tread, using a reference object can make the job easier and improve the quality of the result. First, place tile strips at both ends of the surface to be tiled. As the surface gradually narrows, use a trowel to apply cement. Then use a square notched trowel to adjust the tiles so the spacing between them is consistent. Continue tiling by laying one tile at a time, alternating between the right and left sides of the step.
Step 4: Cut the tiles

As you continue tiling, you will need to fill gaps that appear between tiles on curved surfaces, at corners, or in other difficult areas. You can use mosaic tile nippers to cut the mosaic tiles to the right size. If the gap to be filled is less than half a tile, you should remove it entirely and fill the space with two appropriately cut tile pieces instead of one very small piece. This improves the appearance but also takes more work. On the other hand, if you need to cut an entire sheet horizontally or along a curved line, first use a colored pencil to trace the line on a mosaic sheet, then cut along it with a diamond blade.
Final result

Continue tiling along the overhang of the next step. Once the work is complete, use a trowel to adjust the gaps between the tiles.
You can then begin grouting and cleaning, as described on the previous pages.
